Showing posts with label Winter Village. Show all posts

Sunday, December 25, 2016

Merry Christmas for My Last Post- By Keren Tamir


Hi Everyone,
Its Keren here for the Blue Fern Studios blog for the last time.
After 3 amazing years being on the Blue Fern Studios Design Team it is time for me to say goodbye.
It was wonderful to be part of the team for so long and use their wonderful products.
I'm very grateful to have had this opportunity!!!

Here are my projects for this post!!


"Scandinavian Winter"

I created this 5x7 canvas depicting a scandinavian winter.


I used the Tree Trimmings paper from Vintage Christmas 2 collection for the background.
I embossed 2 of the Winter Village chipboard pieces and a snowflake with Icicle embossing powder and then added some gold glitter on it.
Once I glued everything I added some snow paste to enhance the winter feel.


<<<<<<<<<<<>>>>>>>>>>>

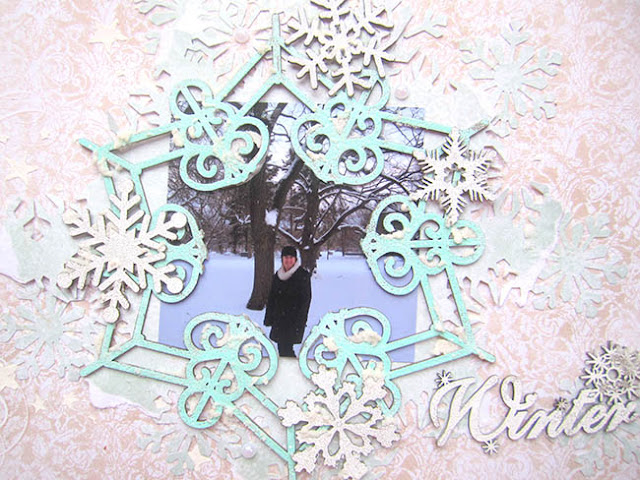
"Winter"


I created this wintery layout using a picture of myself from a few winters ago.
I used the  back of the Holiday Cards paper from the Vintage Christmas 2 for the background.


I used the large chipboard flake to frame my photo. I cut the inside of the flake so I would have a space in the middle to frame my photo. Then I embossed it with Sea Mist embossing powder.


I used some shabby flakes and winter flakes to embellish around the frame. I embossed them along with the Winter title with Snow embossing powder.
I also added some snow paste to enhance the wintery feel.


<<<<<<<<<<<<<>>>>>>>>>>>>>

 "Chritmas Cards"

Finally I created 3 Christmas cards: 


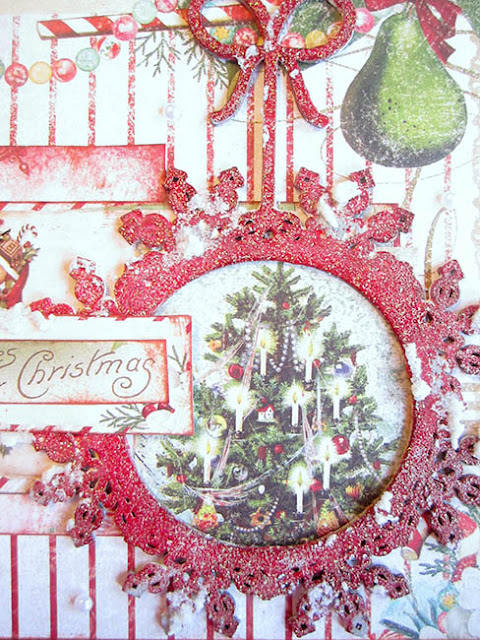
The first one uses both the Vintage Christmas collections and the Dangle flake as an embellishment. The chipboard was embossed with Golden Bricks embossing powder.


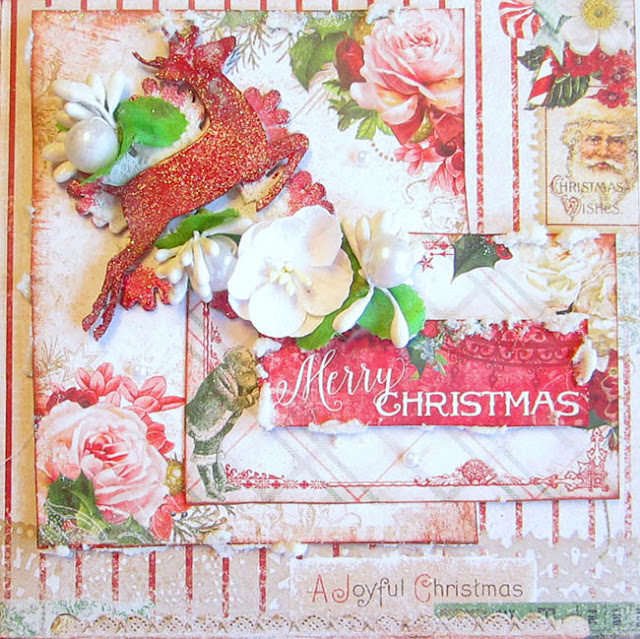
The Second Card also uses both Vintage Christmas collections


To embellish I added some Blue Fern blooms and a Holiday Deer that was also embossed in golden Bricks embossing powder


For the last card, I used the Deer ornament which was embossed in 14 karat embossing powder.


I used some flowers and cheesecloth to embellish the card as well!!


Thank you so much for visiting Blue Fern Studios Blog

and thank you for supporting me for so many years!!!

Have a Merry Christmas and a Happy and Healthy New year!!

Love,

Keren


SaveSave

Monday, December 12, 2016

Vintage Christmas cards...

Hello! If you are in the process to make your Christmas cards and you are thinking how to make them without much dimension and easy to mail, I'm going to share with you four cards that I made thinking in those two things. I worked with the Vintage Christmas 2 collection.

 Merry Christmas-card #1
This collection are so beautiful that you don't need much to create a cute card. I just cut out some of the image and around the design to make my scene. I added textures with a stencil with  gel medium and glitter.

I added lace and a bow of twine for a Shabby Chic look.
 Jolly-card #2
Here I worked the background with lot of textures, I made white paint splatter to create a snow effect. I cut out the adorable image is from one of the papers and  I tear the white paper to recreate the snow and make my scene.

The title Jolly is from the Holidays cards paper.

I worked the background  with white paint splatters and added textures with gel medium, glitter and a stencil. The adorable image of  Santa and the flowers were cut  from the papers. 


I framed the card with lace and added one flowers from  the new soft blooms.
 A Merry Christmas- card#4
In this card I painted the chipboard with distress ink to create a colorful village, I combined the colors with the paper. I also tear the white paper to create the snow hills effect.
I used modeling paste with a stencil to create the snow effect.

I hope you find inspiration to create cards without dimension.  Thanks for stopping by..until next time!

Marilyn Rivera

Tuesday, December 8, 2015

December Inspiration with Melinda Thompson

Hello my crafty friends :)


This is my final projects for Blue Fern Studios.  My 12 month term finishes at the end of December and I can't believe how quick that 12 months went!

With my last 2 projects I used the new Vintage Christmas paper range. Its a beautiful paper range with such a range of colours to choose.

In my first project I was inspired by the gorgeous pinks, reds and aqua's. Such a pretty combination.


"Merry Christmas"


Lots of paper strips and fussy cutting...oh what fun! Chipboard pieces have been lightly painted in Gesso first and then covered with mists, inks and glitter :)


Paper: Vintage Christmas
Chipboard: Holiday Frame, Holly Sprigs, Word Ornaments


My second project is full of glitter and shine! I have used the new Imagine Ink Glitter range - Carribean and Pyrite on my chipboard pieces and a sprinkle here and there in my paper. I was truly shining after this project!!! :):)


"Magical"


Paper: Vintage Christmas
Chipboard:  Winter Village, Winter Titles, Winter Page Dangles, Christmas Ornaments, Beaded Strings


Thanks for stopping by today, I hope you feel inspired to create this holiday season. Thank you Blue Fern Studios for having me on the team this past 12 months...its been absolutely fun!

Take care
Melinda xo

Wednesday, October 7, 2015

New Chipboard!

Can you believe it's October already?   With a chill in the air, and nature showing us the beautiful colors of autumn,  you can't help but think ahead to winter, a little bit.  Just in time for your winter and holiday projects, we have some awesome new chipboard designs that are sure to take your projects to the next level.

Winter Village


Winter Sleigh


Holiday Frame


Snow Medley


Santa's Sleigh


Gingerbread House


Word Ornaments


We hope you are as excited about these new chipboard pieces as we are.
We would love to hear your thoughts!  Which are your favorites?